I have to admit I'm a bit of a snob when it comes to turkey broth. It's rich, clean flavor and silky texture can elevate just about any broth-based dish, from soups and stews to risottos and gravies. Happily, you don’t need to wait until after Thanksgiving to stock your freezer! This recipe for homemade turkey broth uses turkey legs, thighs, or wings, and makes a robust, lightly herby turkey broth without using a whole turkey carcass.

I was fortunate enough to take some private cooking lessons from a trained chef in the mid-2000s, and the very first thing he taught me to make was broth. I was surprised at the time, but as my cooking skills developed, I discovered that making broth is not only a good starting point for learning to be a great cook, it is THE starting point. Broths are the “cornerstone content” of many fine dining restaurants, and over time they’ve become the number one must-have ingredient in my kitchen.
I’ve made many different types of broth and stock: chicken broth, various styles of vegetable broth, beef broth, demi-glace, consommé, Asian-inspired broths and even buffalo stock. But the one I make the most—and use the most—is turkey broth. My freezer is always stocked with turkey broth in various portions, from 1-cup blocks frozen in my favorite Souper Cubes to two-cup portions and quarts.
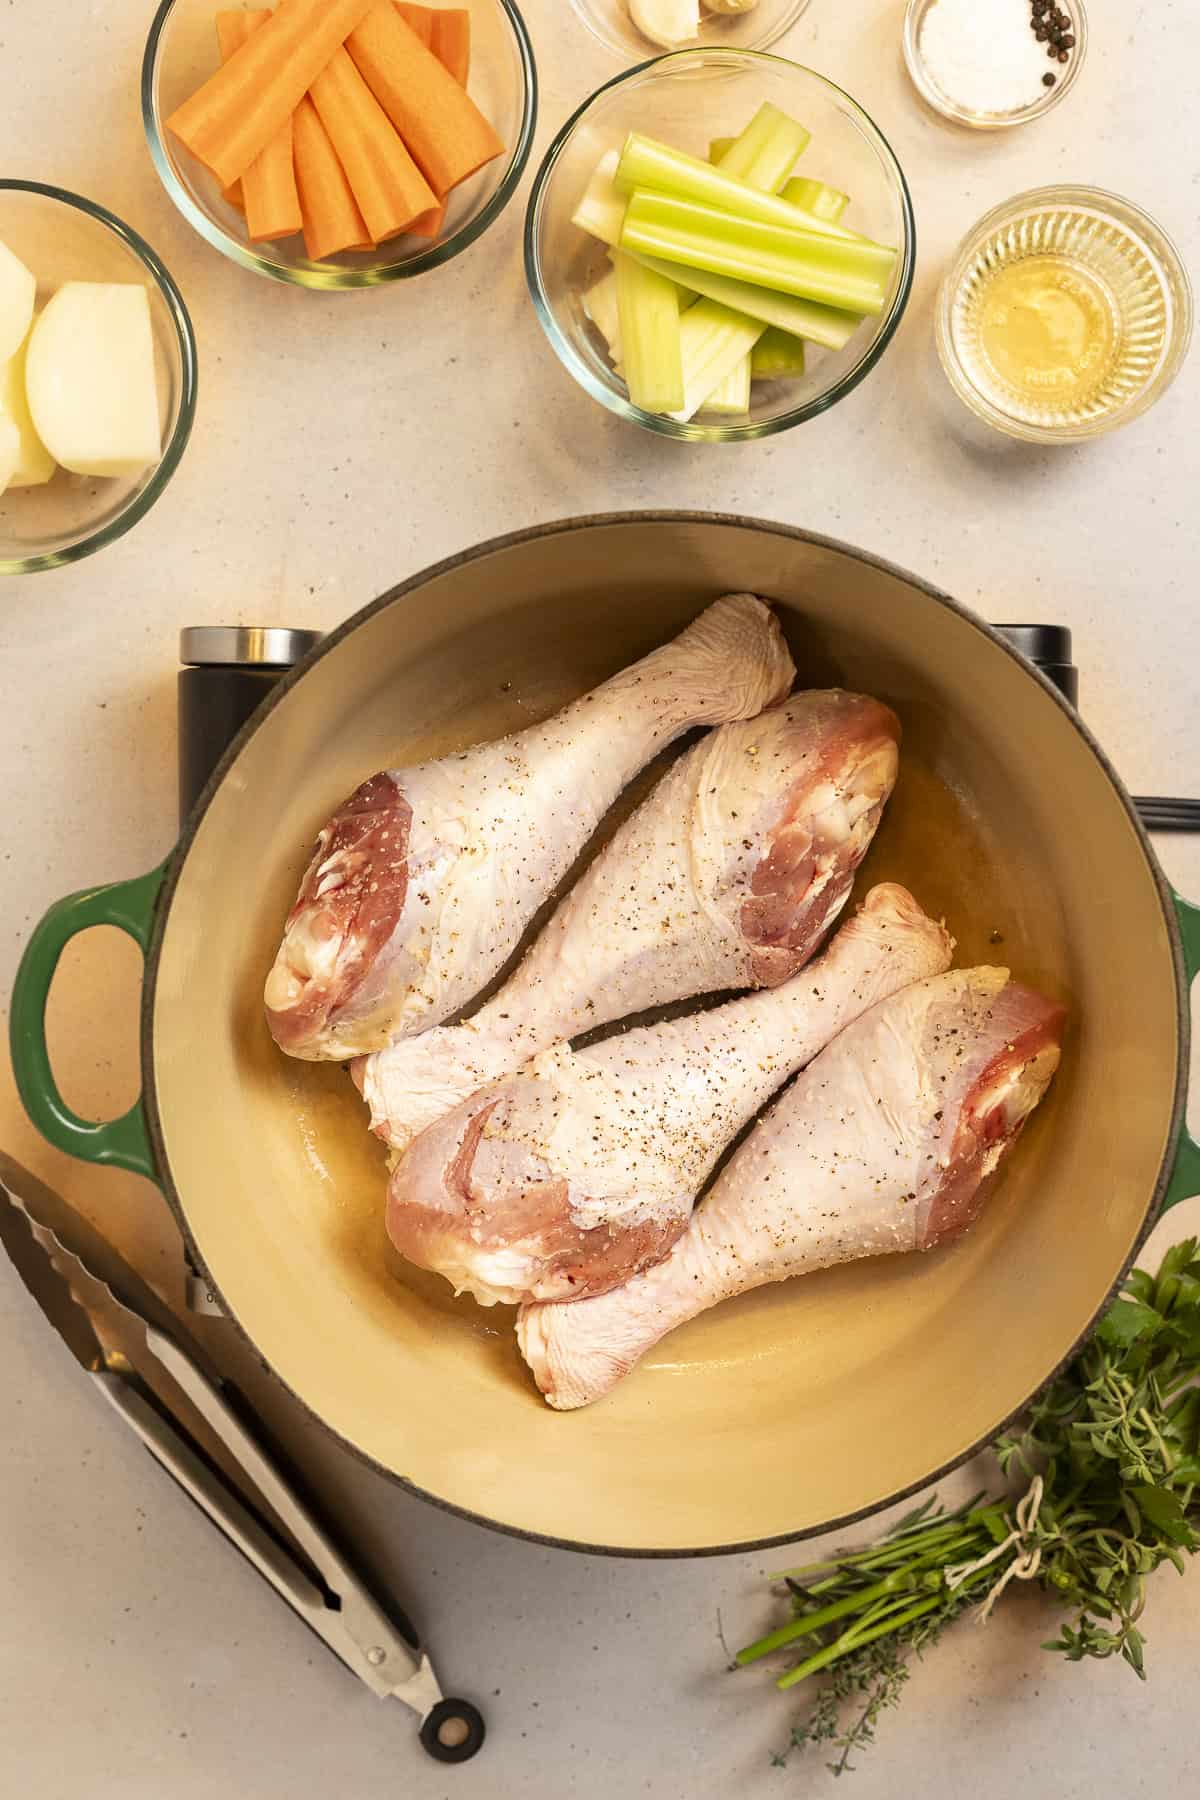
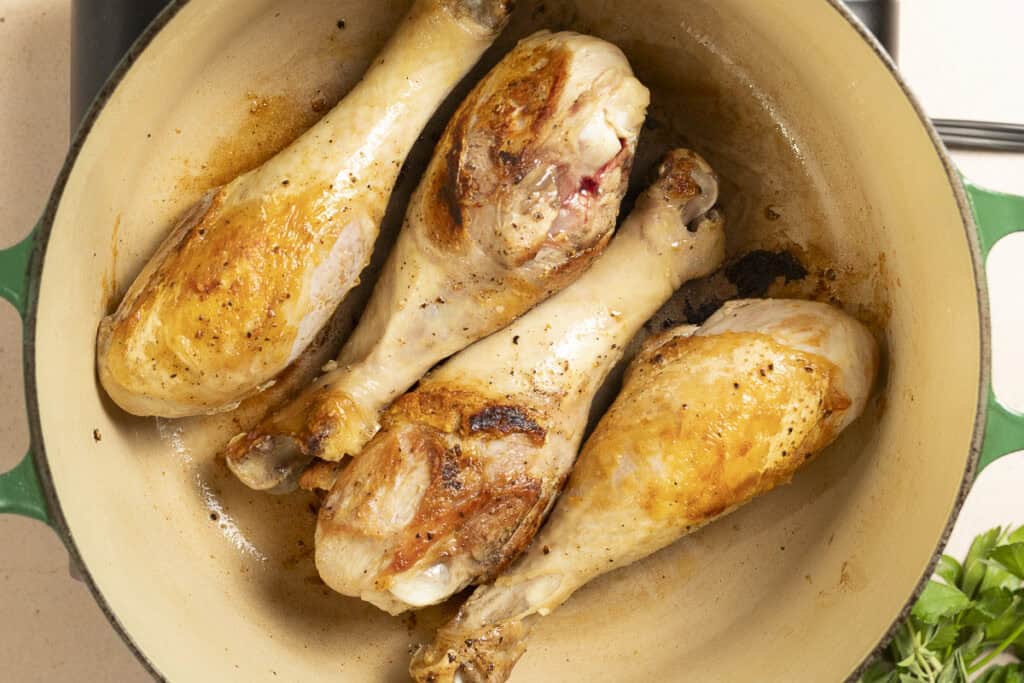
While most stocks and broths are simmered for hours, I find that a little over an hour of simmering is usually enough for the purposes of Thanksgiving gravy, stuffing, and mashed potatoes. I start this broth recipe by browning the turkey pieces well and deglazing the pan with wine, which gives it a good flavor base and minimizes the simmering time that is absolutely required for a usable broth.
You can certainly allow the broth to simmer for longer if you'd like more flavor; every additional 30 minutes will enrich and concentrate your final product. This will be preferable for any broth you intend to use in a soup. I always remove the herbs and vegetables after about an hour, regardless.
The benefits of homemade broth
The flavor of homemade turkey broth is both richer and more savory than store-bought chicken broth, and I think it needs less salt to taste well-seasoned. It has a cleaner flavor as well, and is wonderful in soups, risottos, and sauces. It’s also higher in protein than chicken broth (bought or made), and is more nutrient-dense.
In general, homemade broth can be made with less sodium, which gives you more control over the saltiness of your final dish. For anyone watching their sodium intake, this is an advantage that’s hard to ignore. You can also supplement the sodium with MSG, which, contrary to popular belief, is a healthier alternative to salt.
Ingredients and substitutions
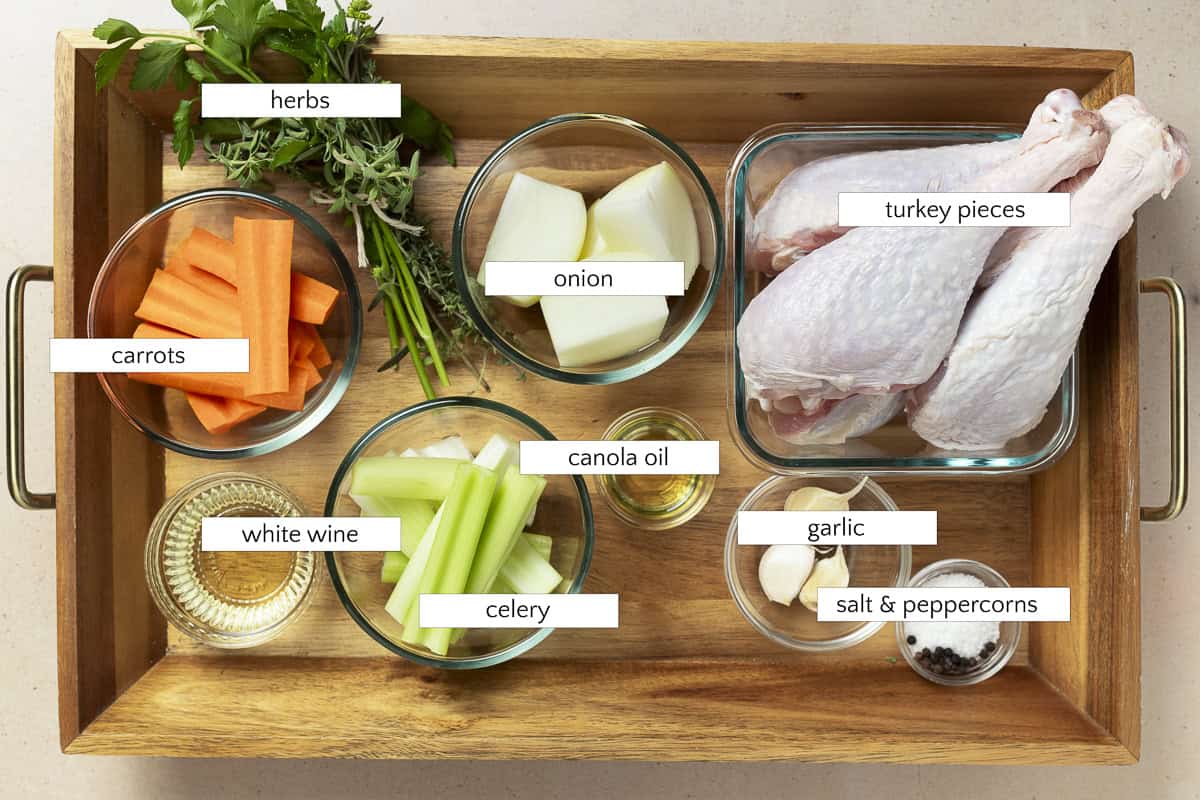
Bone-in turkey pieces: Use whatever you can conveniently find here. I prefer dark meat for making this broth: thighs, legs, and wings.
Neutral oil: I use avocado oil for browning meat. Add only the minimum amount of oil required to coat the bottom of your pan.
Dry white wine: Totally optional, but it adds a lot of flavor to homemade broth. It must be a dry wine, such as sauvignon blanc or unoaked chardonnay. If you don't have any on hand, just use water to deglaze your pan after browning the turkey pieces.
Carrot, celery, and onion: You can leave out the carrot and celery if you prefer. I also sometimes substitute fennel bulb for the celery.
Garlic cloves: Use as much garlic as you want. I find that 3-4 large cloves is enough. You can always enrich the broth with more garlic in your final dish.
Kosher salt: I use Morton's kosher salt. If all you have is table salt, use half the amount called for in the recipe.
Fresh herbs: Use herbs that are traditionally paired with poultry, such as parsley, thyme, rosemary, sage, oregano, and marjoram. Stay away from basil and cilantro, which can give your broth an odd flavor.
Whole peppercorns: I always add just a pinch of peppercorns when I make broth. It's not enough to make it peppery, but it helps round out the seasoning.
A couple of tips for making turkey broth
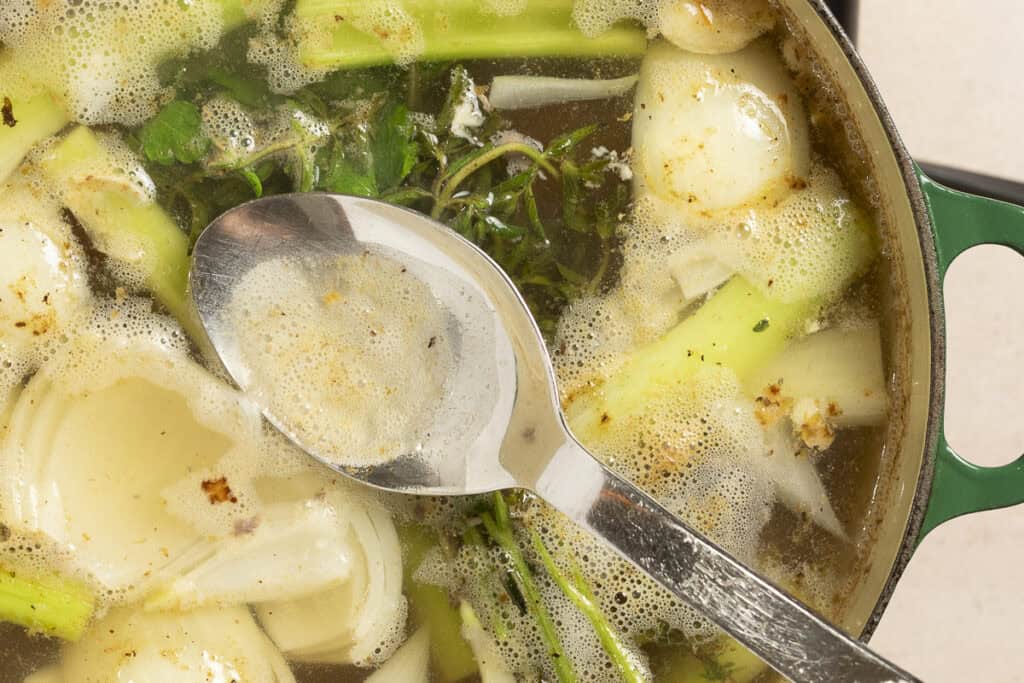
Start with cold water. It's very important to start your broth with cold water and bring it up to a simmer gradually. This allows the proteins to escape slowly, coagulate and rise to the top, and be easily skimmed off. This results in a clearer and tastier broth.
Don’t skip the skimming. I know it’s a little tedious, but all that foam and matter can throw off the flavor of your turkey broth if it is left to cook for too long.
Don’t boil your broth. Any broth or stock should be slowly brought to a simmer, and never allowed to boil.
Don't over-season your broth. In many cases, you will be using your broth in another dish, possibly with ingredients that may contain additional sodium. You might also be reducing it further, concentrating the sodium that's already there, especially if you are making a sauce. The two teaspoons of salt I include in this recipe is not even strictly necessary, and if you plan to use your broth mainly for sauces I recommend leaving it out altogether.
Strain with cheesecloth for a clear, silky broth. It's worth the additional $3 to purchase a bit of cheesecloth to strain your broth. Some people also claim that it works to strain broth through a coffee filter. I haven't tried it myself.
Leave time for the broth to cool. Allowing the broth to cool completely in the refrigerator allows the fat to coagulate on the top. Defat the broth by scraping it off with a spoon.
How to use turkey broth
There are so many uses for turkey broth, from soups and stews to risottos, sauces and gravies, rice pilaf, couscous, mashed potatoes, and more! Here are some recipes from Parsley & Parm that you can use turkey broth in:
Storing homemade turkey broth
Homemade turkey broth will keep in the refrigerator for 2-3 days. If you plan to keep it any longer, you will want to freeze it.
My favorite way to freeze small portions of broth is to use Souper Cubes. I have both the 1-cup and the 2-cup versions. Once the broth is frozen, I pop it out of the cubes and store it in reusable Ziploc-style bags. Stored this way, it's good for 2-3 months.
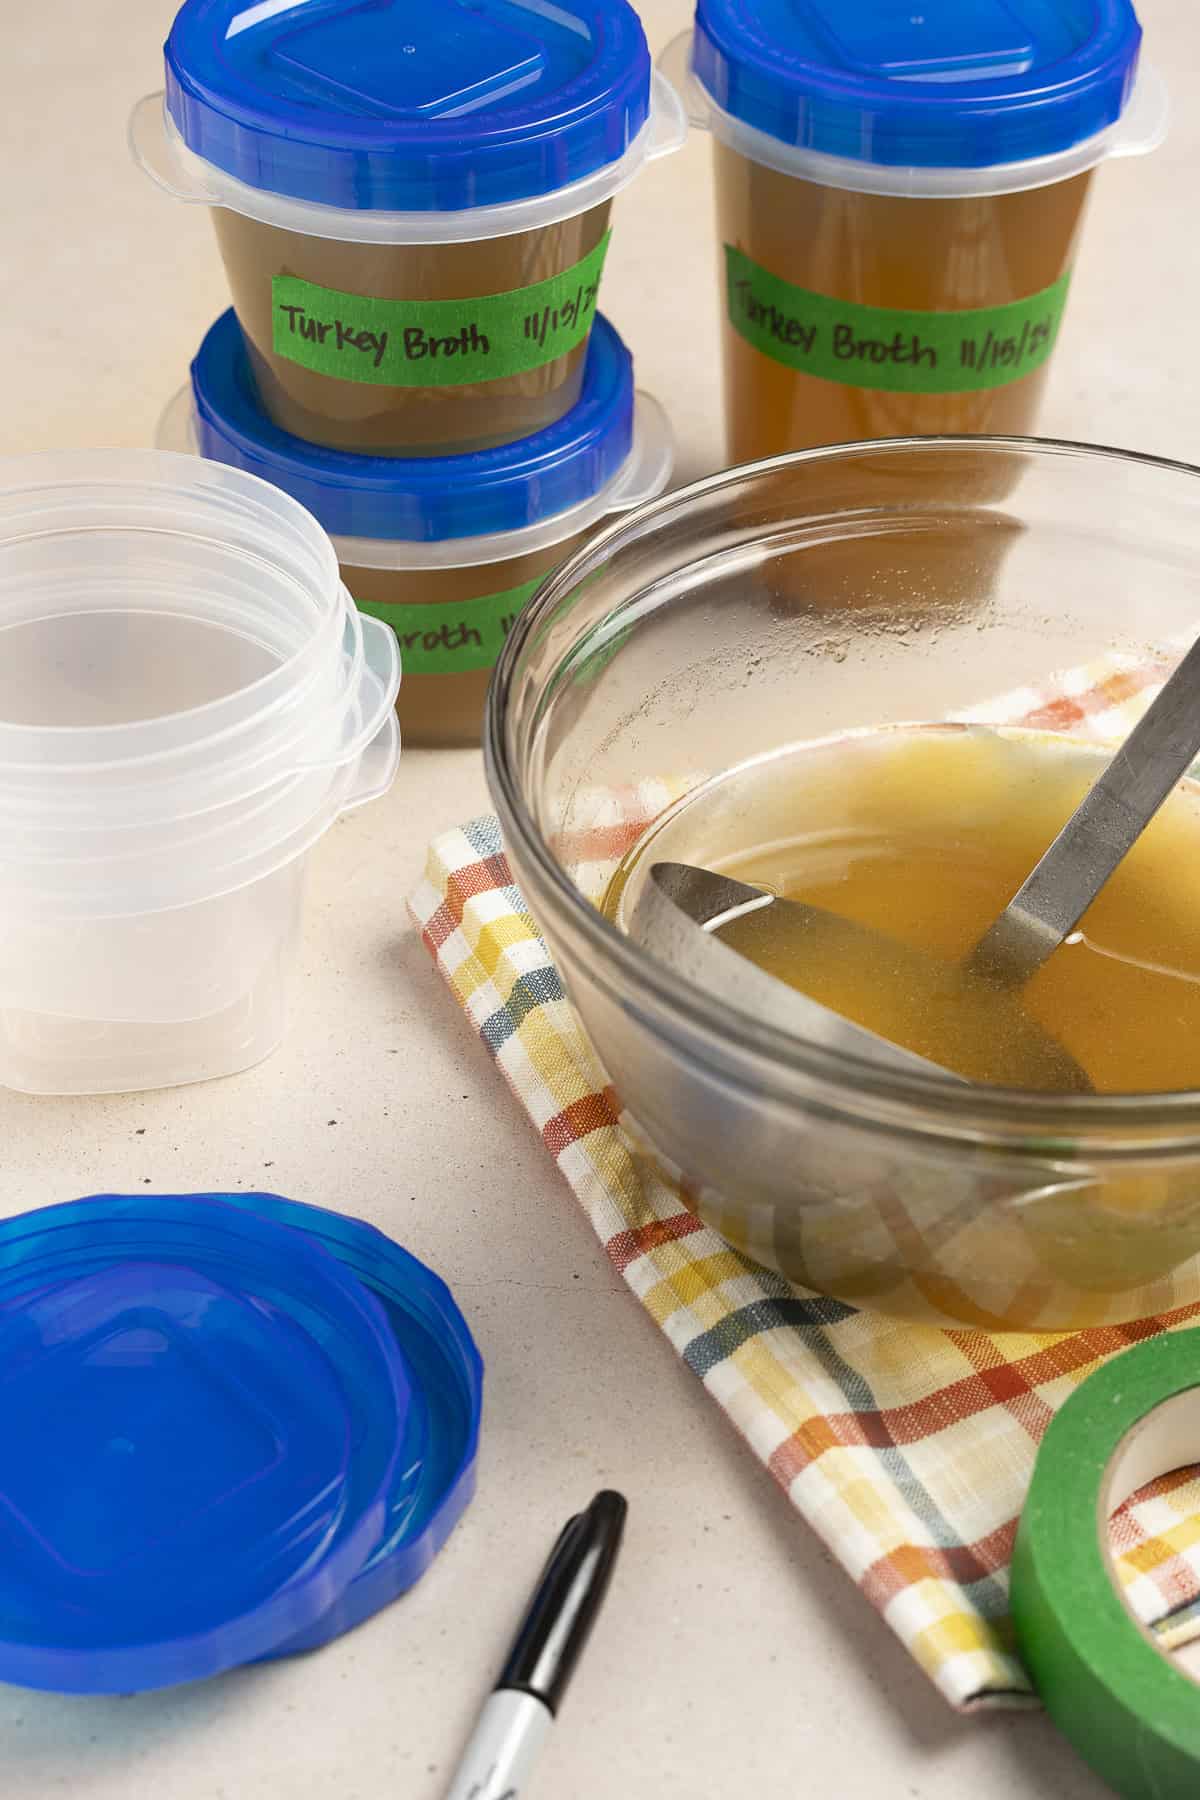
If I'm storing my broth for longer, I put it in freezer-safe Twist-N-Store containers, which I purchase at U.S. Foods Chef's Store. Be sure to leave headspace to allow the broth to expand as it is freezing. Packed this way, the broth will last for 6 months in the freezer.
Did you make this recipe?
Did you make this homemade turkey broth? Let me know how it turned out for you. And don’t forget to save and share this recipe by pinning it to Pinterest , saving it to Samsung Food (formerly Whisk) or sharing on Instagram or Facebook.
Homemade Turkey Broth (Without a Whole Turkey)
Equipment
- Knife and cutting board
- Measuring cups and spoons
- Dutch oven -or other 8-quart soup pot
- Skimming spoon
- Small bowl
- Butcher’s twine -optional, for tying herbs together
- Fine mesh sieve -essential
- Large heat-proof bowl, measuring cup, or pitcher
- Cheesecloth -optional, for straining broth
- Large soup or canning ladle
Ingredients
- 3-4 pounds of bone-in turkey pieces -wings thighs, legs
- 2 tablespoons neutral oil such as organic expeller-pressed canola oil
- ¾ cup dry white wine -non-alcoholic wine or water will also work
- 2 carrots -peeled and roughly chopped
- 2 ribs celery -tops trimmed, roughly chopped
- 1 yellow onion -peeled and halved
- 3 garlic cloves -peeled and crushed
- A handful of fresh herbs -parsley, thyme, rosemary, oregano, marjoram (see notes)
- 2 teaspoons kosher salt -plus more to taste
- A large pinch of whole peppercorns
Instructions
- Prepare your vegetables and tie the herbs together in a bundle with butcher's twine or a strip of cheesecloth. (You can also just throw your herbs in without bundling them, it's just easier to skim your broth if they are contained.)2 carrots, 2 ribs celery, 1 yellow onion, 3 garlic cloves, A handful of fresh herbs
- Pat the turkey pieces dry. If they are full legs, separate the legs from the thighs. Season lightly with salt.3-4 pounds of bone-in turkey pieces -wings
- Preheat a Dutch oven over medium-high heat. Add just enough oil to coat the bottom (don't add too much, it will spatter), and add the turkey pieces in a single layer. Working in batches, brown them until they are golden on all sides. Turn off the heat, and remove all of the turkey pieces to a plate.2 tablespoons neutral oil such as organic expeller-pressed canola oil
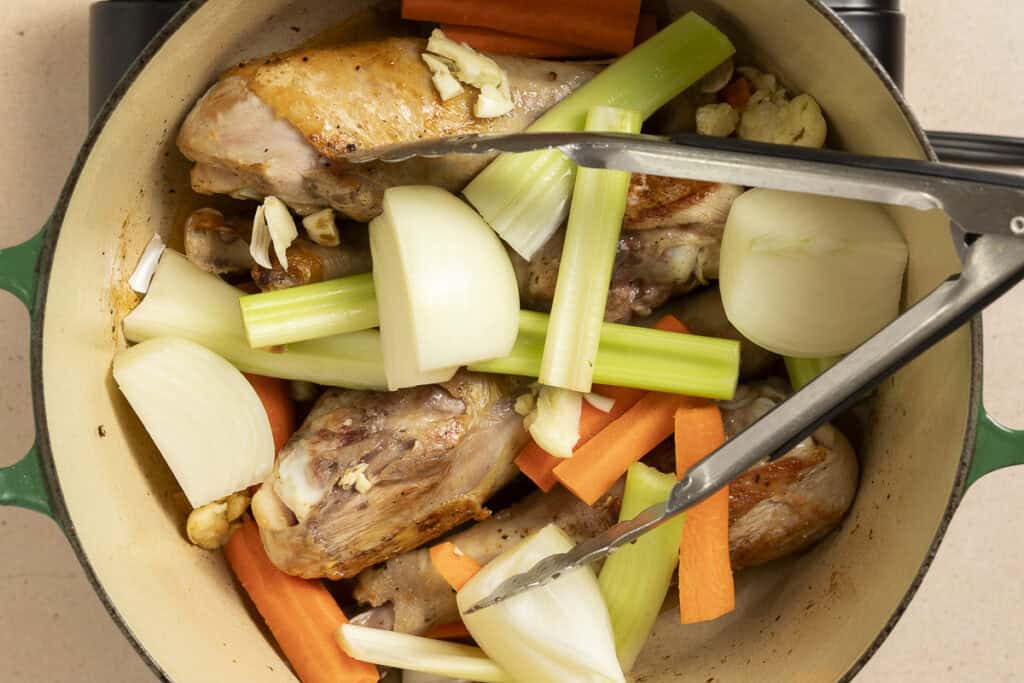
- While the pan is still hot, carefully add the wine (or water) to the hot pan. Once the spattering subsides, use a spoon or spatula to scrape any browned bits off the bottom of the pan. Return the turkey to the pan, and add the vegetables, herbs, salt, and peppercorns.2 teaspoons kosher salt, A large pinch of whole peppercorns, ¾ cup dry white wine
- Fill the pot nearly to the top with cold water and set over medium-high heat. Bring to a moderate simmer, but do not allow it to boil. This will take awhile, so find something else to do in the kitchen while it comes to temperature. Every so often, as you are walking by your stove, skim any foam or gunk from the top of the broth.
- Adjust the heat as needed to keep the broth at moderate simmer. Keep it there for about an hour, skimming as needed.
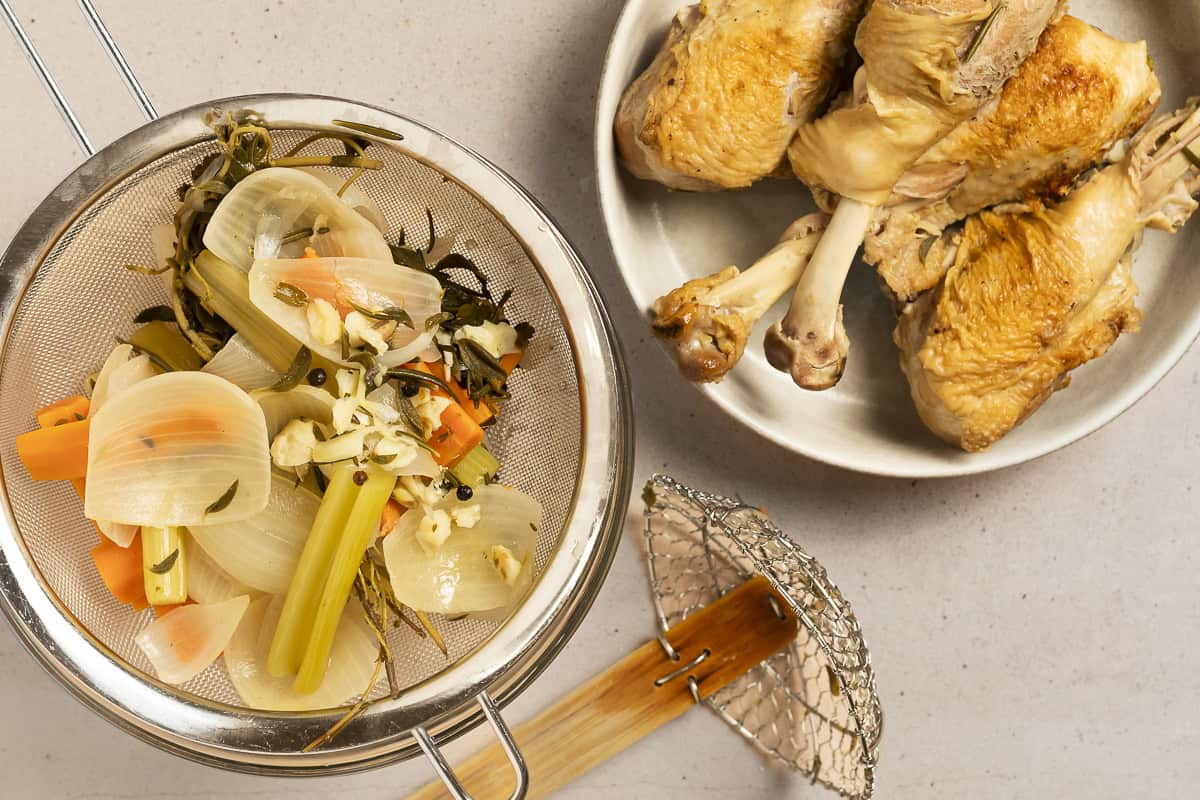
- Remove the meat, vegetables, and herbs to a large, heat-proof vessel (I often use a baking sheet or a large metal mixing bowl).
- For a richer broth, leave the meat in the broth and simmer an additional 30 minutes. If your broth is strong enough for your liking, you can skip this step and move on to the next step.
- Strain the broth through a fine mesh sieve into another pan or a large heat-proof bowl, measuring cup, or pitcher. For an extra-clear broth, line your sieve with 2-3 layers of cheesecloth.
- Cool on the counter until it won't affect the temperature of your refrigerator. Transfer the container to your refrigerator and chill overnight.
- After chilling, use a spoon to scrap the fat off the broth. Store in a lidded container in the refrigerator for up to 3 days, or freeze for 3-6 months.
Notes
Need more servings?
To adjust a recipe for more or fewer servings, hover your cursor over the number servings on the recipe card. This will bring up a slider that you can move to the number of servings you want to make.


Leave a Reply